- Brake fluid is essential for safe, responsive braking: Regularly inspect it for discoloration, contamination, or spongy pedal feel.
- Follow manufacturer recommendations for fluid type and replacement intervals: Most cars require a change every 2–3 years, but high-use or high-performance vehicles may need more frequent attention.
- Use the right tools and follow a step-by-step process when changing fluid: Proper preparation, bleeding, and checking for leaks ensures a safe and effective DIY brake fluid change.
- Ongoing brake maintenance extends system longevity: Regularly inspect pads, rotors, brake lines, and hoses, and keep components clean to prevent wear and corrosion.
- Driving habits affect brake health: Mindful driving, gradual braking, and avoiding unnecessary hard stops help reduce wear on pads, rotors, and fluid.
- Know when to seek professional help: If you’re unsure of fluid type, notice brake warning lights, or encounter damaged lines or calipers, a mechanic is the safest option.
Brakes are one of the most crucial components of your vehicle, and keeping them in top condition can save you from costly repairs—or worse, accidents. One key aspect of brake maintenance that many car owners overlook is the brake fluid. Brake fluid ensures your brakes respond properly and reliably. In this guide, we’ll cover everything you need to know about how to change brake fluid and maintain your brakes for peak performance.
Why Brake Fluid Matters
Brake fluid might not seem exciting, but it plays a vital role in your braking system. When you press the brake pedal, brake fluid transmits that pressure to the brake calipers, which squeeze the brake pads against the rotors. Over time, brake fluid absorbs moisture and can become contaminated, reducing braking efficiency and potentially leading to brake failure.
Signs that your brake fluid may need changing include:
- A spongy or soft brake pedal
- Increased stopping distance
- Dark or dirty fluid in the reservoir
- Brake warning light on your dashboard
Understanding the importance of brake fluid is the first step toward safer driving and better brake performance.
How Often Should You Change Brake Fluid?
Most car manufacturers recommend changing brake fluid every 2 to 3 years, but this can vary depending on your vehicle and driving habits. High-performance vehicles or cars frequently driven in stop-and-go traffic may need more frequent changes. Always check your owner’s manual for specific recommendations.
Factors that can affect brake fluid life include:
- Humidity and moisture in the environment
- Driving conditions (city vs. highway)
- Age of the vehicle
- Type of brake fluid used (DOT3, DOT4, DOT5, etc.)
Types of Brake Fluid
Before you learn how to change brake fluid, it’s important to know the type your vehicle requires. Using the wrong fluid can damage your braking system. The most common types are:
- DOT3: Glycol-based, suitable for most older vehicles, absorbs moisture over time
- DOT4: Higher boiling point, often used in modern vehicles
- DOT5: Silicone-based, does not absorb water, used in specialty or vintage vehicles
- DOT5.1: Similar to DOT4 but with higher performance characteristics
Always check your owner’s manual and avoid mixing different types of brake fluid.
Tools and Materials Needed
Changing your brake fluid at home doesn’t require expensive equipment, but having the right tools is essential. Here’s what you’ll need:
- Wrenches (usually 8mm to 11mm depending on your car)
- Turkey baster or fluid pump
- Brake bleeder kit (optional but helpful)
- Gloves and eye protection
- Clean rags
- Jack and jack stands
- New brake fluid (make sure it matches your car’s specifications)
Having these items ready before you start makes the process smoother and safer.
Step-by-Step Guide: How to Change Brake Fluid
Changing brake fluid may seem intimidating, but with patience and care, it’s a manageable DIY task. Here’s a comprehensive step-by-step guide:
Step 1: Prepare Your Car
- Park on a flat surface and engage the parking brake
- Wear gloves and eye protection
- Lift the car using a jack and secure it with jack stands if needed
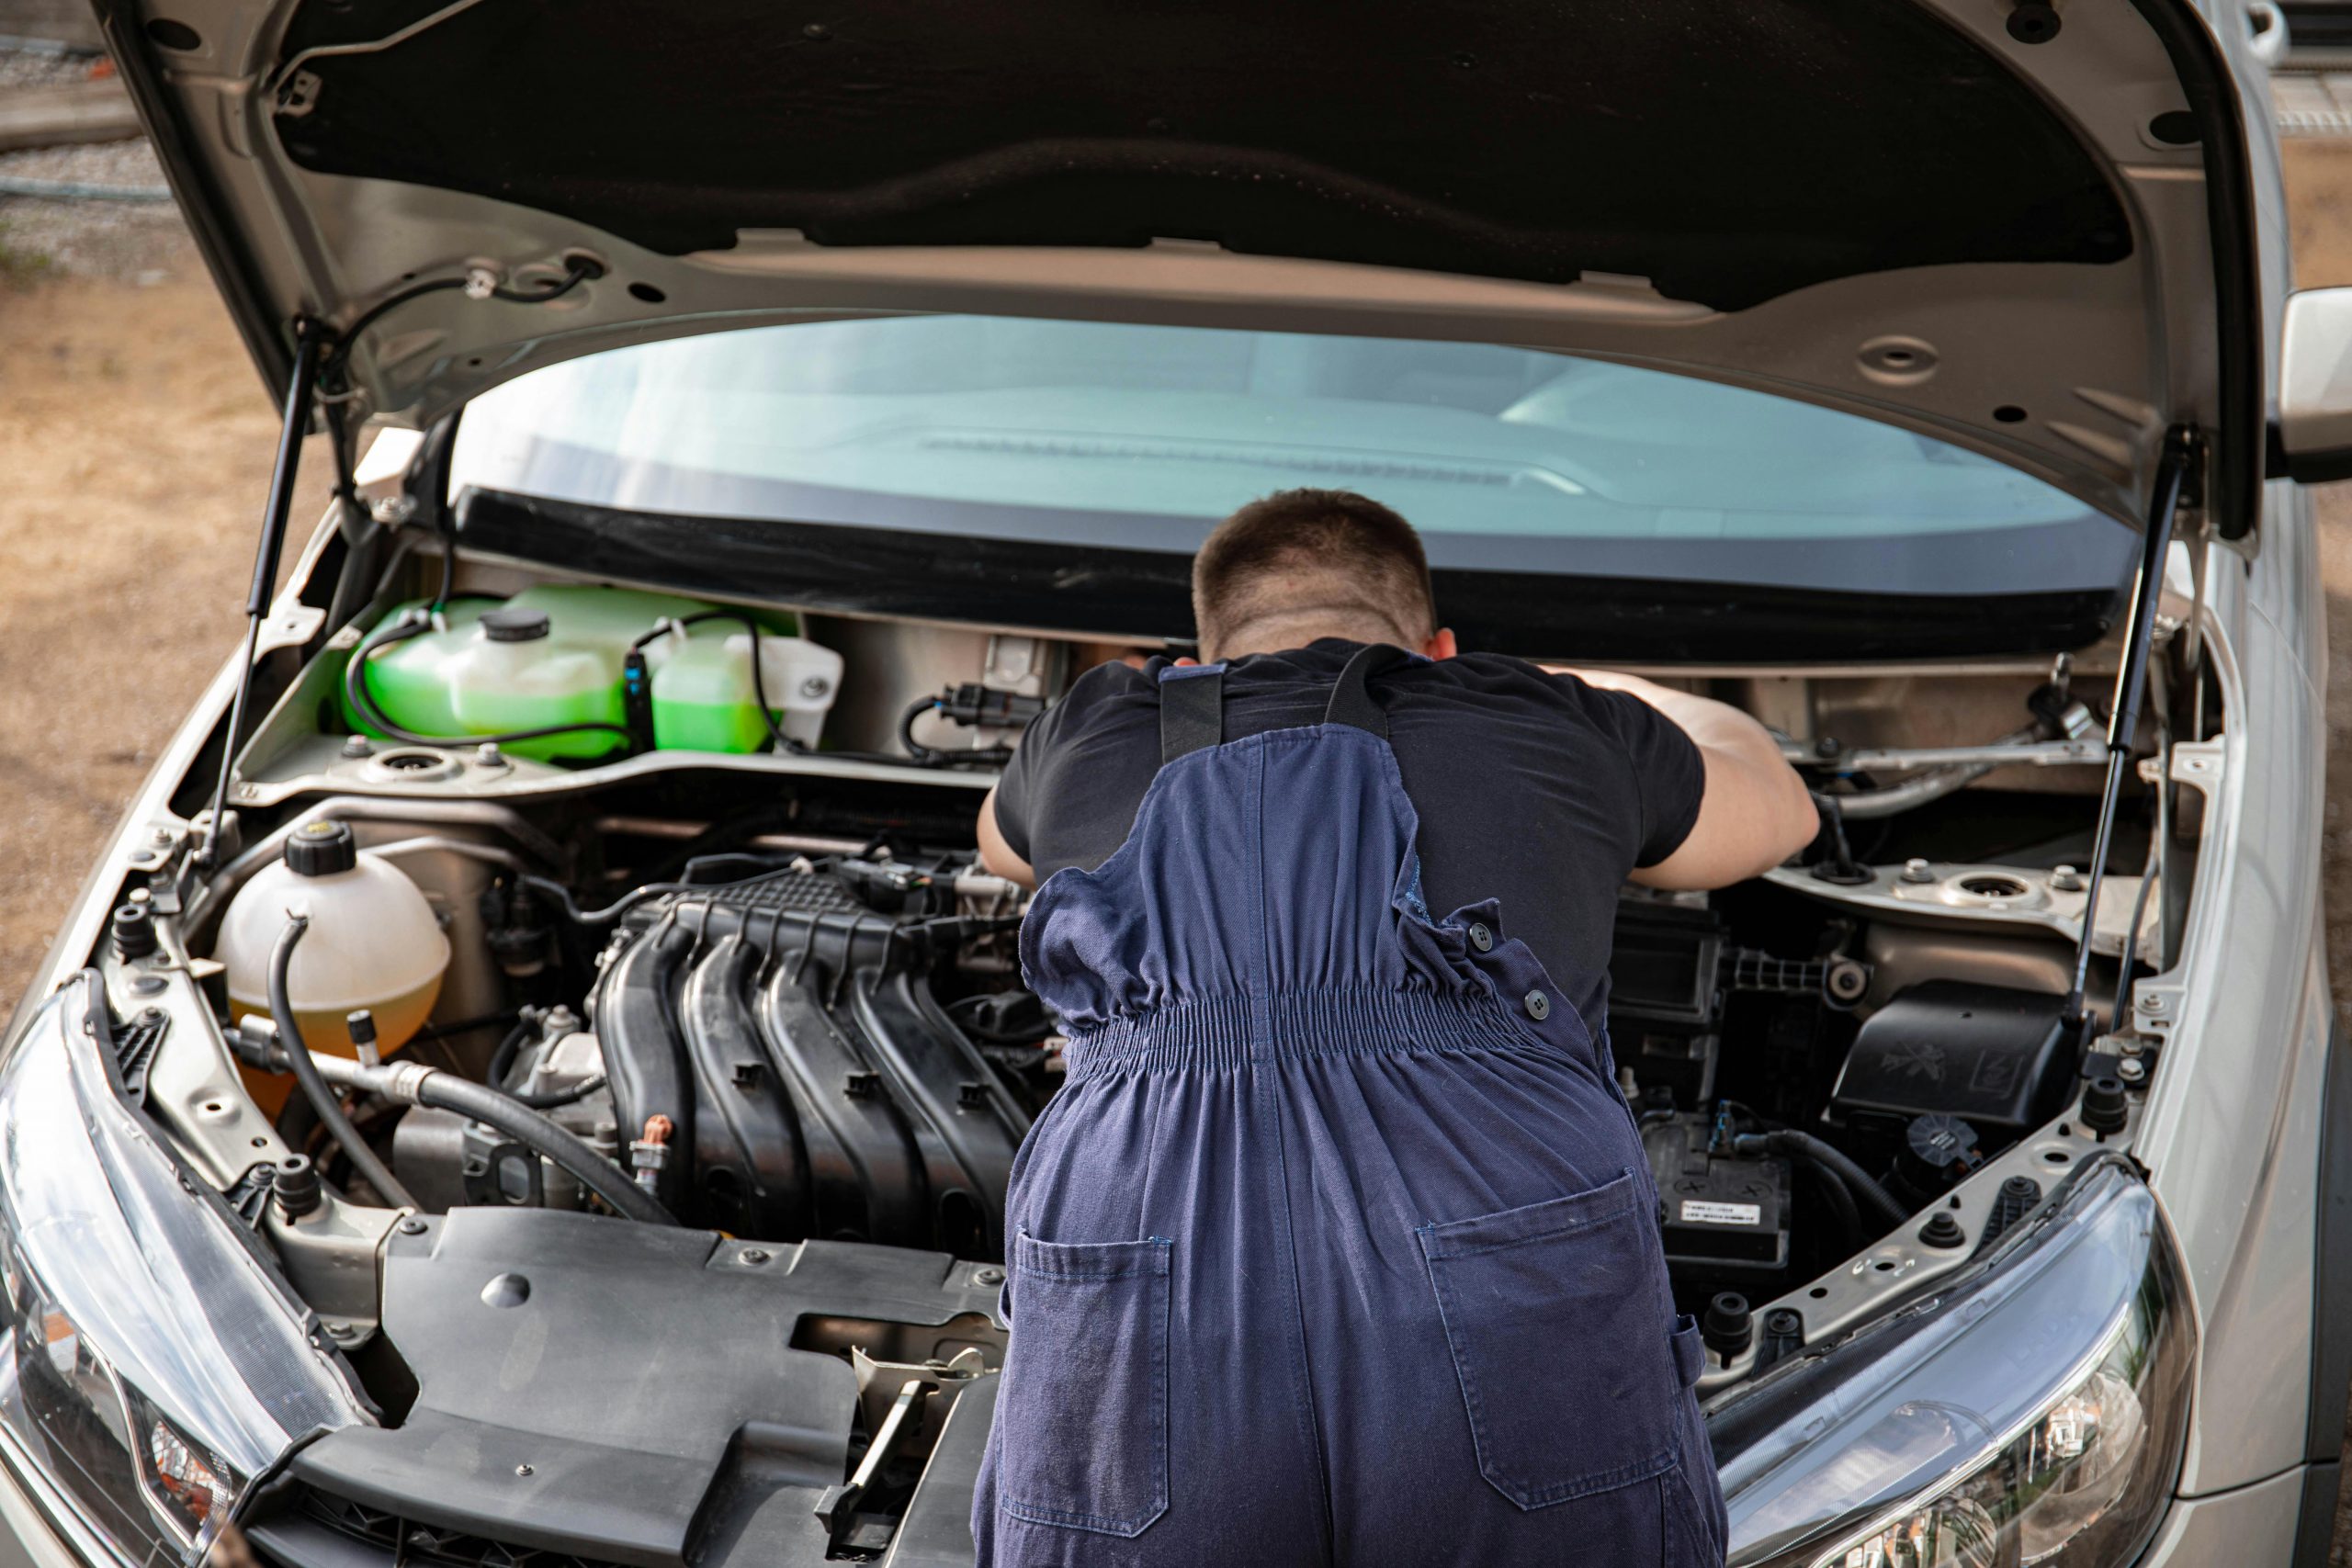
Step 2: Access the Brake Fluid Reservoir
- Open the hood and locate the brake fluid reservoir
- Clean the outside to prevent dirt from contaminating the fluid
- Remove the cap carefully
Step 3: Remove Old Brake Fluid
- Use a turkey baster or fluid pump to remove old fluid from the reservoir
- Dispose of the old fluid safely (most auto parts stores accept used brake fluid)
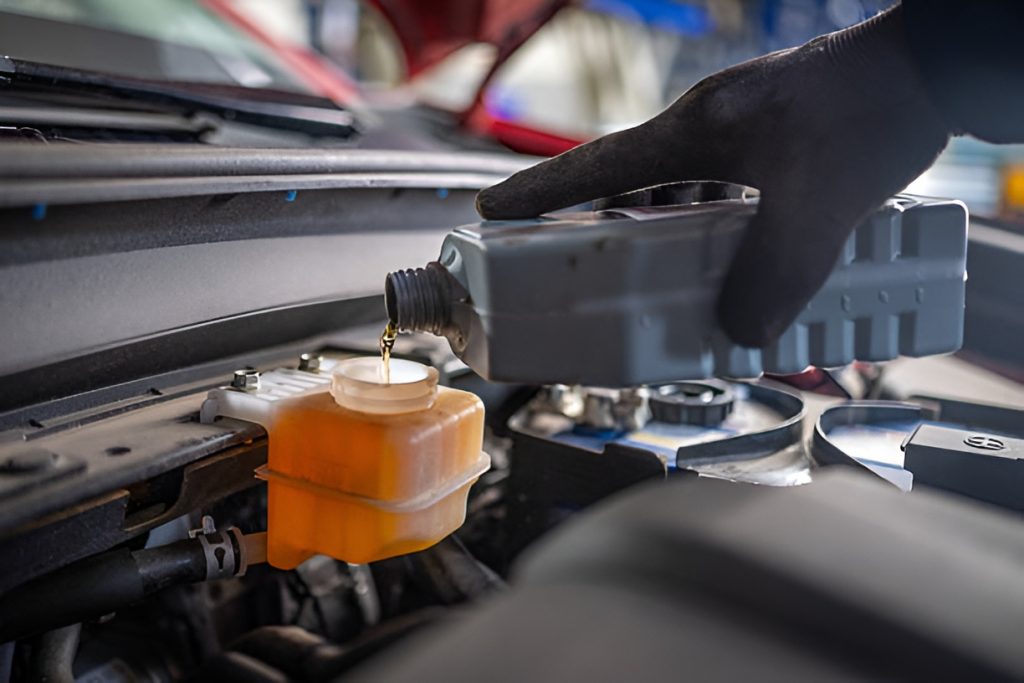
Step 4: Add New Brake Fluid
- Pour new brake fluid into the reservoir, ensuring it’s at the “max” line
- Avoid spilling on painted surfaces, as brake fluid can damage paint
Step 5: Bleed the Brakes
Bleeding removes air from the brake lines, which ensures proper pedal feel. You can do this with a helper or a brake bleeder kit.
- Start with the brake farthest from the master cylinder (usually the rear passenger side)
- Have your helper press the brake pedal while you open and close the bleeder valve
- Repeat for each wheel until clean, air-free fluid flows
- Top up the reservoir as needed
Step 6: Check for Leaks and Pedal Feel
- Inspect all connections for leaks
- Press the brake pedal; it should feel firm
- Test drive at low speeds to ensure brakes are working properly
An Easier Alternative to Traditional Brake Bleeding
If the thought of crawling under your car to manually bleed each brake line seems daunting, there’s a simpler method that can help refresh your brake fluid without the traditional hassle. This approach is particularly useful if your brake fluid is a few years old and just needs a thorough refresh.
Here’s how it works:
- Access the Reservoir: Start by opening your brake fluid reservoir. Make sure the area around the reservoir is clean to avoid contamination.
- Remove Old Fluid: Using a turkey baster or a similar tool, carefully remove the old, discolored brake fluid from the reservoir and transfer it into a separate container for proper disposal.
- Refill with New Fluid: Once the reservoir is empty, refill it with fresh brake fluid up to the max line. Only purchase the type of fluid recommended for your vehicle.
- Drive and Pump the Brakes: The reservoir contains only part of the system’s fluid, so driving the car and pumping the brakes helps circulate the new fluid throughout the lines. This gradually dilutes the old fluid still remaining in the system.
- Repeat as Needed: To replace most of the old fluid, repeat this process after driving a few hundred miles. Each iteration pushes more of the old fluid out and mixes in fresh fluid, effectively refreshing the entire braking system over time.
This method is a simpler, less messy alternative to the traditional mechanic approach, which requires getting under the vehicle and bleeding each line individually. While it may take a few repetitions to fully refresh the fluid, it can be done easily at home and avoids the complexity of the traditional process.
Common Mistakes to Avoid
Even experienced DIYers can make mistakes when changing brake fluid. Avoid these pitfalls:
- Using the wrong type of brake fluid
- Overfilling or underfilling the reservoir
- Contaminating the fluid with dirt or moisture
- Ignoring brake warning lights or unusual pedal feel after the change
How to Maintain Your Brakes Between Fluid Changes
Changing your brake fluid regularly is crucial, but keeping your brakes in top shape requires ongoing care. A few simple habits can extend the life of your braking system and ensure consistent performance.
Inspect Brake Pads and Rotors Regularly
Brake pads and rotors are the most frequently replaced components of your braking system. Over time, pads wear down, reducing stopping power, and rotors can develop grooves or warping. Check your brake pads every few thousand miles or whenever you hear squealing or grinding noises. Look for:
- Pads thinner than 3-4 mm
- Uneven wear patterns
- Scoring or grooves on the rotors
Replace pads before they wear completely, and have rotors resurfaced or replaced if damaged. Regular inspection prevents costly damage to other components.
Check Brake Lines and Hoses
Brake lines and hoses carry the fluid that powers your braking system. Cracks, leaks, or corrosion can compromise safety and reduce braking efficiency. Perform a visual inspection periodically:
- Look for bulges, cracks, or frayed hoses
- Check metal lines for rust or corrosion
- Ensure fittings are tight and leak-free
If you notice any issues, have the affected lines or hoses replaced immediately to maintain safe braking performance.
Keep Your Car Clean
Dirt, debris, and road grime can accumulate around brakes, especially on the calipers and under the wheel wells. Excess buildup can cause uneven pad wear, reduced rotor lifespan, or interference with brake movement. Tips for keeping your brakes clean include:
- Rinsing brake components with water during car washes (avoid high-pressure water directly on sensitive areas)
- Removing debris from wheel wells and around calipers
- Avoiding parking over sand, mud, or corrosive materials for long periods
Drive Mindfully
How you drive has a direct impact on brake wear and overall longevity. Hard braking, riding the brakes, or frequent stop-and-go driving increases stress on pads, rotors, and fluid. To reduce wear:
- Maintain a safe following distance to minimize sudden stops
- Anticipate traffic flow and brake gradually when possible
- Avoid keeping your foot on the brake pedal unnecessarily
Mindful driving not only extends brake life but also improves fuel efficiency and vehicle safety.
How to Tell If Your Brakes Are in Good Shape
Even with regular maintenance, you should monitor your brakes for signs of trouble. Common warning signs include:
- Squealing or grinding noises
- Vibrations when braking
- Soft or spongy pedal
- Longer stopping distances
- Brake warning light illuminated
Addressing these issues early can prevent costly repairs and keep you safe on the road.
Tips for a Successful DIY Brake Fluid Change
If you’re tackling how to change brake fluid yourself, here are some helpful tips:
- Work in a well-lit area: It’s easier to see leaks and check fluid levels
- Keep a clean workspace: Brake fluid is corrosive and messy
- Follow manufacturer recommendations: Your car’s manual has the exact specifications
- Do one wheel at a time: Prevents air from entering the system
- Have a helper if possible: Makes bleeding the brakes faster and safer
Benefits of Changing Brake Fluid Yourself
There are several advantages to learning how to change brake fluid yourself:
- Save money: No labor costs from a mechanic
- Learn more about your car: Understanding your braking system helps with other maintenance tasks
- Convenience: You can change fluid on your own schedule
- Peace of mind: Knowing your brakes are properly maintained increases safety
When to Seek Professional Help
While DIY brake fluid changes are doable, there are situations where a professional mechanic is a safer option:
- You’re unsure of the correct brake fluid type
- Brake lines or calipers are damaged
- You notice persistent brake warning lights or unusual behavior
- You’re uncomfortable working under your car
Remember, brakes are critical for your safety—don’t take unnecessary risks.
Brake Fluid and Vehicle Longevity
Regularly changing your brake fluid not only keeps your brakes performing well but also extends the life of your braking system. Moisture-contaminated fluid can corrode metal components, leading to expensive repairs. Staying on top of fluid changes helps preserve your investment and ensures consistent, reliable braking.
Frequently Asked Questions About Brake Fluid
Can I change brake fluid myself safely?
Yes, with the right tools, safety precautions, and patience, most car owners can safely change brake fluid.
How long does new brake fluid last?
Typically, 2-3 years depending on driving conditions, fluid type, and manufacturer recommendations.
Can old brake fluid damage my brakes?
Yes, old or contaminated brake fluid can corrode components, reduce braking performance, and lead to brake failure.
What type of brake fluid should I use?
Refer to your vehicle’s owner manual. Most modern vehicles use DOT4, but always check to avoid damage.
How do I know if my brakes need bleeding?
If your pedal feels spongy, bleeding is necessary to remove air from the lines.
Final Thoughts
Understanding how to change brake fluid is an essential skill for any car owner. Regular maintenance not only ensures your brakes respond reliably but also extends the life of your braking system and improves overall vehicle safety. By following the step-by-step guide, using the right tools and fluid, and paying attention to signs of wear, you can keep your brakes performing at their peak and drive with confidence.
Taking the time to maintain your brakes now saves you money, stress, and potential hazards down the road. Keep your brake system healthy, and your car will reward you with smooth, safe stopping power every time you hit the road.